Battle of Canyon Creek Photo Tour, by Bob Reece
The Fight for the Bluffs and the Canyon
A very special thanks to Friends member James Thorn
for providing all photos.
Once Sturgis and Merrill with the remaining troops reached the mouth of the canyon,
the Nez Perce sharpshooters had complete control of the situation.
If Merrill
had any hopes to still win the day, he would have to first flush the
snipers from the bluffs. It would be tough
and time consuming, just what the Nez Perce rearguard ordered.
Finally joining the main command were Captain Bendire’s Company K and
the lagging howitzer. The other howitzer was somewhere at the bottom of the
Yellowstone River. The animals transporting the remaining howitzer
were completely spent, thereby making any attempt to use the heavy gun
useless. It never opened fire.
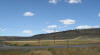
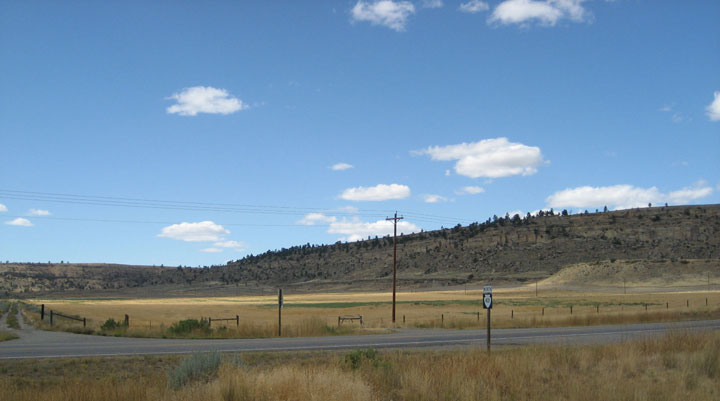
Area B, View W: Looking west into the mouth of
Canyon Creek.
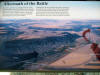
This wayside exhibit depicts the Nez Perce escape
into the canyon. The butte labeled “Nez Perce warriors” is Calamity
Jane Horse Cache, which is the southern wall of the canyon. The road
moving left to right is Buffalo Trail Road. The road moving from the
lower portion of the exhibit is Lipp Road. The place marked “You Are
Here” is the wayside exhibits. The northern bluffs are just out of
view to the right of the photo.
Sturgis would make Calamity Jane Horse Cache the primary objective; 10
soldiers under command of Sergeant William Costello were to climb the
butte from its north side while
Merrill formed his troops into a mounted skirmish line extending
across the plain facing west toward the canyon's mouth.
Merrill’s skirmish line would begin the charge at the moment they
heard gunfire from Costello’s soldiers.
Benteen’s now fully formed battalion comprised of Companies G, M, and
K would support Costello by circling the butte and then climbing it
from the south to effectively create a pincer attack. The initial
attack was made mounted while warriors fired on the
cavalrymen. Once the ridge became too steep, the soldiers dismounted
to continue the taking of the ridge on foot. After conquering the
heights, Benteen’s battalion formed a skirmish line and continued its
march across Calamity Jane Horse Cache towards the north, only to
discover the snipers gone. As they so often accomplished in the past
weeks, the Nez Perce simply vanished.
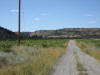
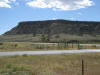
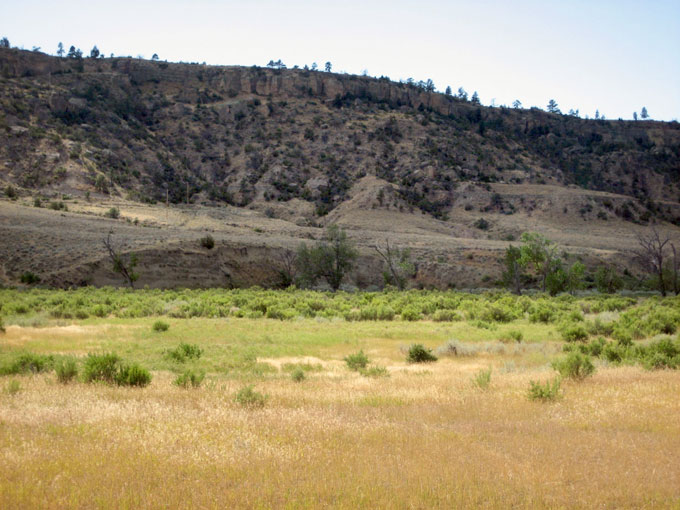
Area B, View SW: The north face of Calamity Jane
Horse Cache where Costello’s 10 soldiers scaled while firing on the
warriors. This move kept the warriors under pressure, allowing Benteen
to pass by east and south and create a pincer attack.
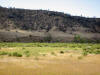
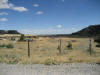
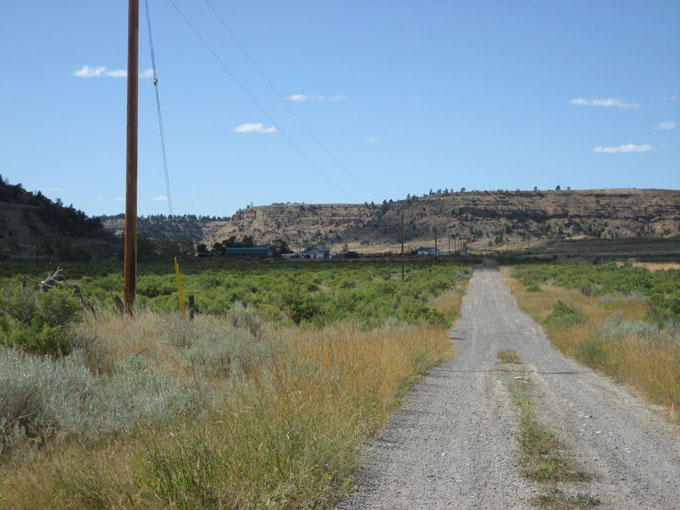
Area B, View SW: While Costello kept the
sharpshooters heads down, Benteen led his three companies through this
area to curve around the opposite side of Calamity and to the right –
out of view – where they began their ascent of the butte.
Meanwhile, Second Lieutenant Ezra Fuller’s Company H, First Lieutenant
John Wilkinson’s Company L, and Captain Henry Nowlan’s Company I
attempted to take the bluffs to the north but were repulsed by warrior
fire from above. However, the warriors had to relinquish their
positions because of Merrill’s next move.
Merrill reacted to Costello’s gunfire as planned and began his charge.
Once inside the canyon walls, all attempts to finally capture the Nez
Perce was hindered by the Indian rearguard. The Nez Perce marksmen
would position themselves behind the many boulders and bluffs and fire
back on the soldiers, then continue their move further into the
canyon. This fight of one to two miles into the canyon was like an ebb
and flow of waves upon a beach. Sturgis had to finally end it due to
approaching darkness. He pulled back and reformed all his battalions at the mouth of
the canyon where he established his command post and field hospital.
The rest of the troops would prepare their camp for the night. The
Battle of Canyon Creek was over.
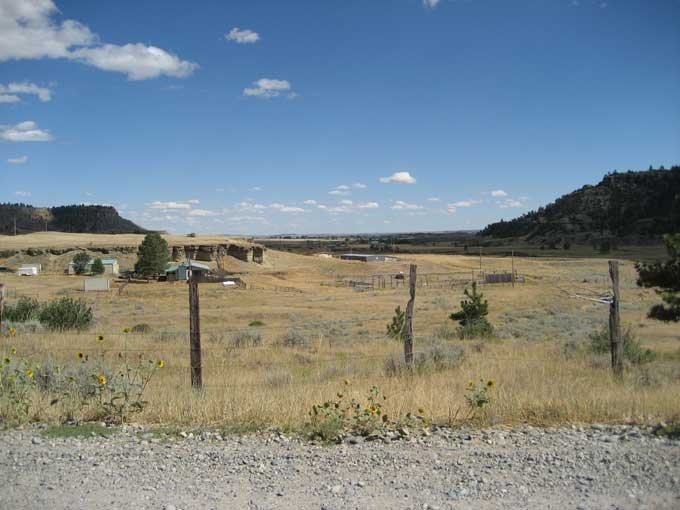
Just inside the canyon, looking east toward the its
mouth. Calamity Jane Horse Cache at right.
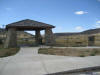
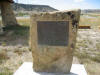
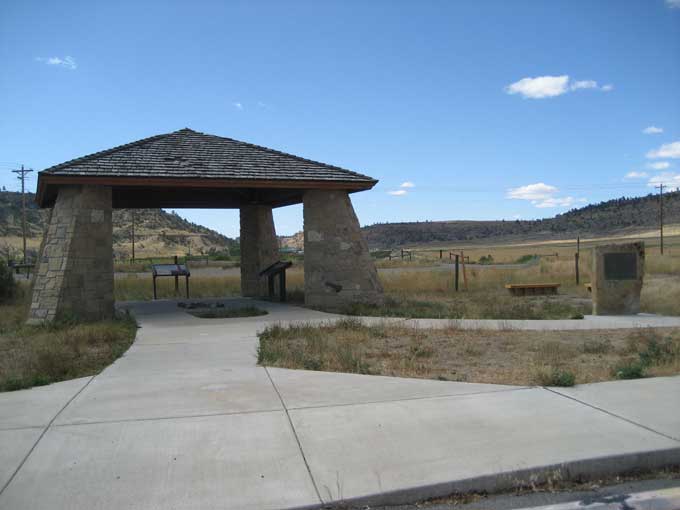
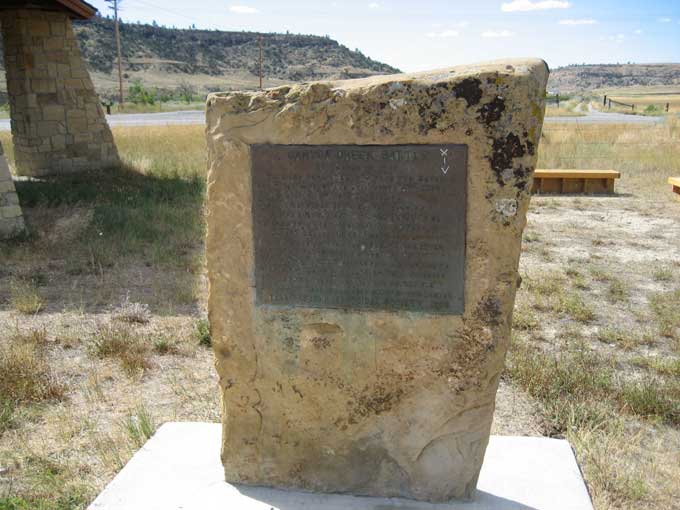
The wayside exhibit at the junction of Lipp Road &
Buffalo Trail Road. The original bronze plaque donated by the Anaconda
Company place in July 1958.
Conclusion
That night of September 13th, some of the soldiers must have thought
they had lost the day. After all, the Nez Perce made another
successful escape as they had done so many times before. The Nez Perce
must have felt the same. However, once we can view the Battle of
Canyon Creek from a bigger picture, we can conclude otherwise. The
U.S. Army had won the day and they had the Crow to thank for it.
Capturing enough horses from the Nez Perce created an incredible burden
for the Indians to travel. They could not move as fast as before.
There just wasn’t enough horse power to move wounded, young and old,
and provisions towards Canada as quickly as before. This delay gave
soldiers under the command of Colonel Nelson A. Miles time to
eventually catch up to the Nez Perce, only 40 miles south of Canada,
where the two would face each other at the
Battle of Bear Paw just 16
days later. There Chief Joseph and his people would surrender.
Afterword
It had been quite awhile since I had read any military history of the
Nez Perce War of 1877. The last book I read was Greene’s “Nez Perce
Summer 1877” before and during my first visit to the Big Hole
Battlefield in August 2002. During preparation for the writing of this
photographic tour, I pulled my old books on the subject off the shelf
and was surprised to find how all but one referred to Canyon Creek as
a skirmish. The exception was Mr. Greene. He devotes a whole chapter
to this episode of the war and rightfully so. Maybe the early
historians drew their own conclusions based on the few killed, or the
time devoted to fighting, or the little ground covered; I’m not sure
which. But, Mr. Green and Mr. Scott -- in his archaeological
assessment -- prove that the fight between the soldiers under Sturgis
and the warriors of Chief Joseph’s people was the Battle of Canyon
Creek.
Thanks
We very much appreciate
Northern Skies Aviation
located at the Laurel Municipal Airport for allowing Mr. Thorn to
take photos of Area A that accompany this article.
Battle of Canyon
Creek Home
(Back
to Top)

